I've grown tired of changing out the batteries in my brick since they seemed to be needed alot more often than it seemed like they should (every couple of years). Not sure why, but it doesn't matter anymore because I was able to figure out a mod to take the power outsie the case via a pair of jacks. This solves the additional problem I always had with this preamp that I couldn't use it at a festival all weekend long.
First off, it requires two separate power jacks because of the design. Oade put two sets of 3 x 6V batteries on the inside, each set powering one of the channels at 18V per channel. Rather than re-designing the powering scheme with diodes and such so that I could use a single battery, I took the easy way and just moved the wires to a pair of surface mounted jacks...essentially just swapping the rechargeable internal batteries for externals via jacks. The M118 current draw is very low, so even a small Li-ion battery will power this easily for a show and I made a couple of 18V batteries from smallish 5amp-hr SLAs that will power the m118 all weekend long for the festivals.
So, following are the pictures I took that show both mods. I had already performed the external power mod on the original brick. That can be seen in the first couple of shots. Since the batteries are now moved outside of the preamp, there was lots of empty space on the inside of the preamp. Since the brick isn't the smallest preamp, I decided it would be nice to scale down on the size. Finally, since my external batteries have their own meters, there is no longer a need for the m118 power meter or the pushbutton that turned the power meter on. (The meter on this preamp hasn't worked for many years anyway!)
So, here are pictures that show progress, along with some captions that explains things...
*******
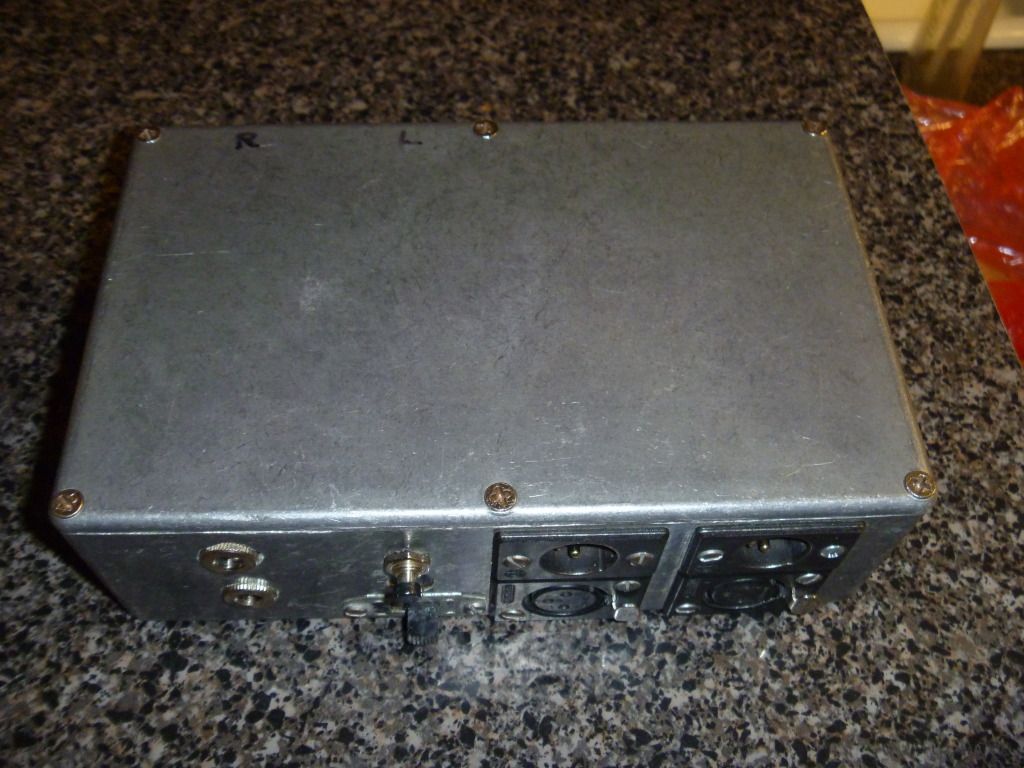
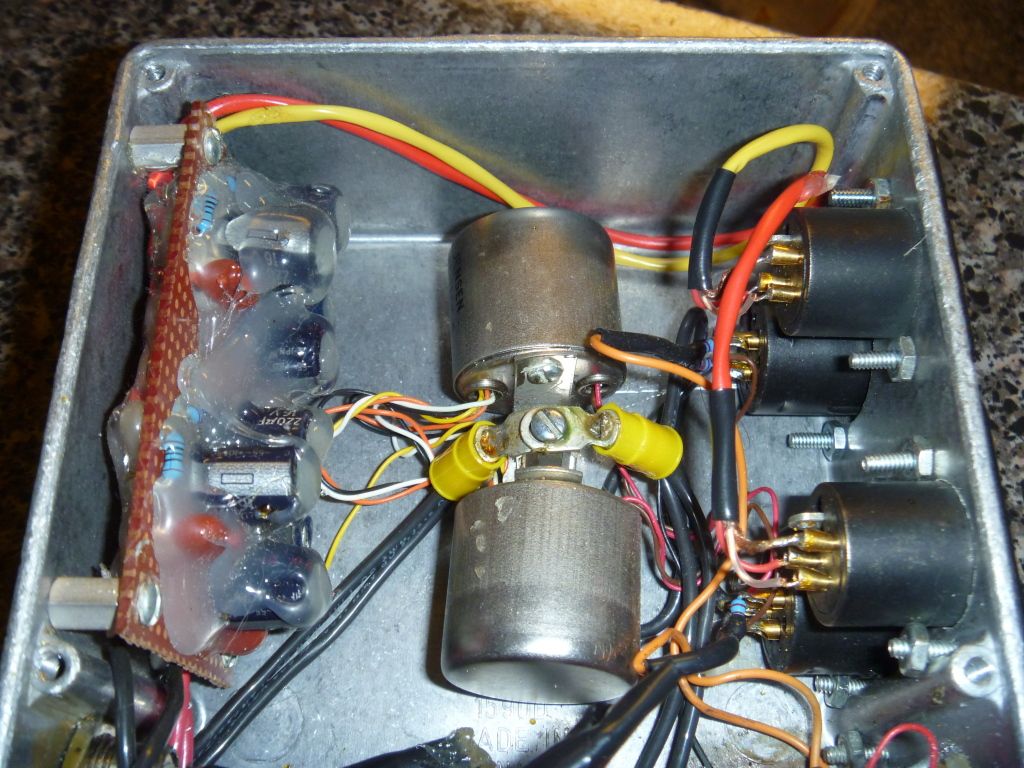
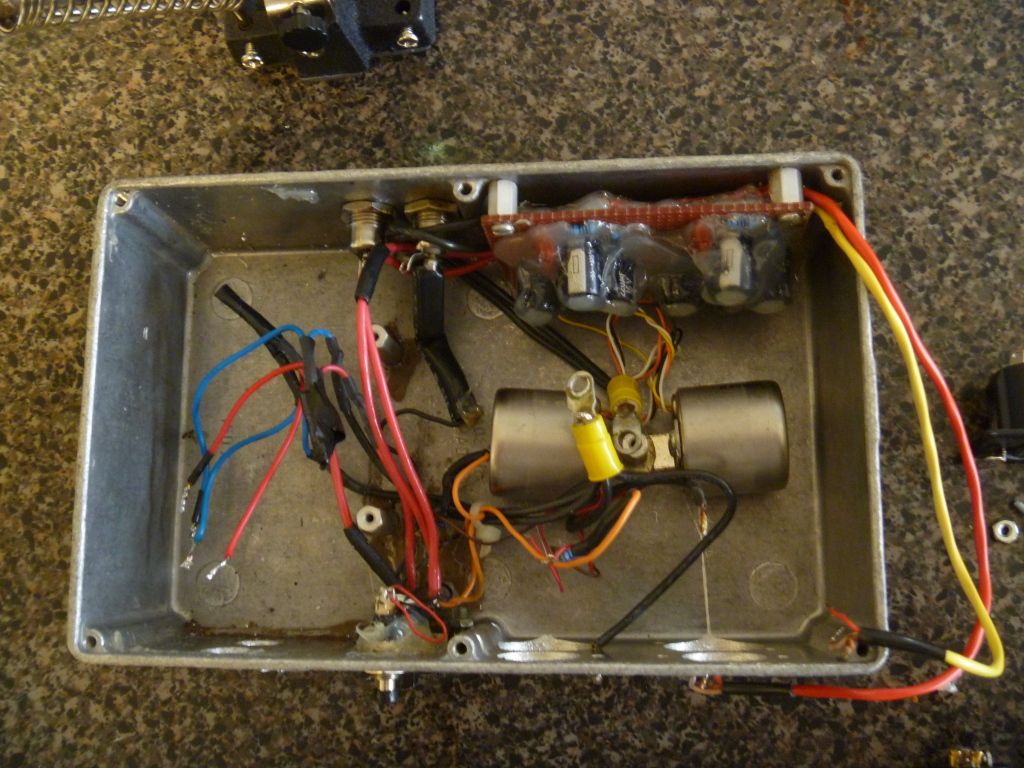
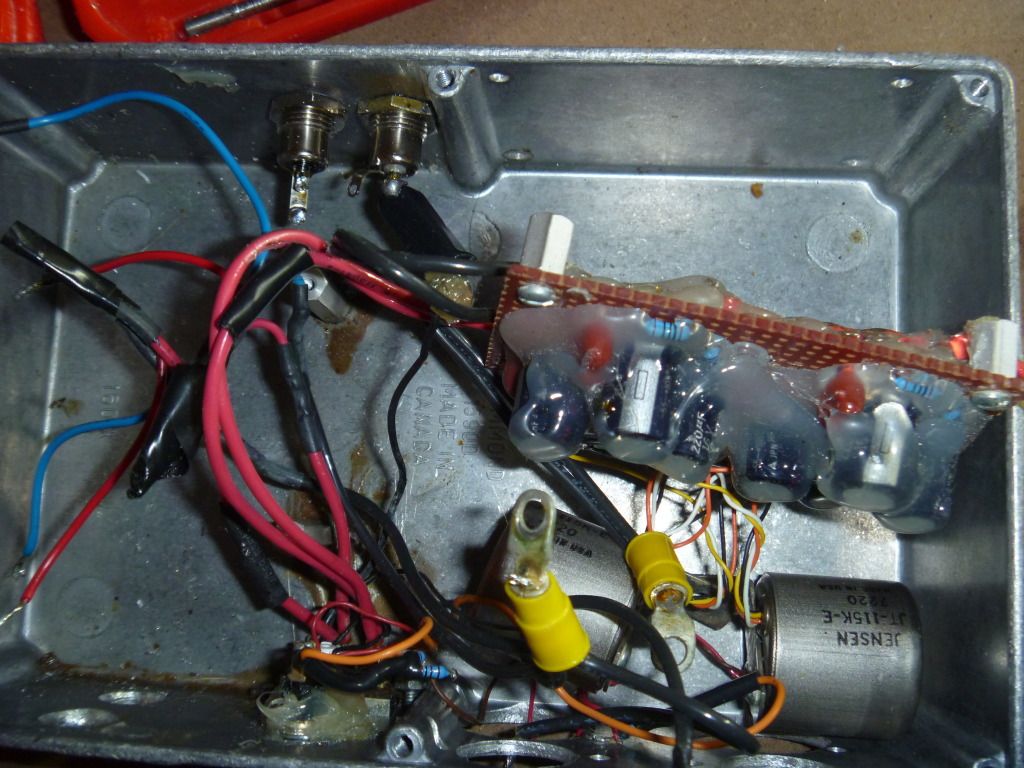
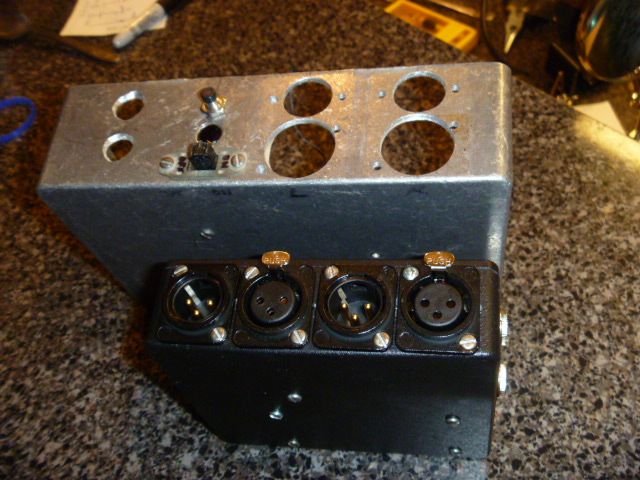
First couple pictures show the M118 after performing the external power mod, but before doing any modifications for moving it to a smaller metal case. Pretty ratty looking thing, isn't it? I figure this is between 20 and 30 years old, but I have no way of knowing its age for sure. It still sounds fantastic though!
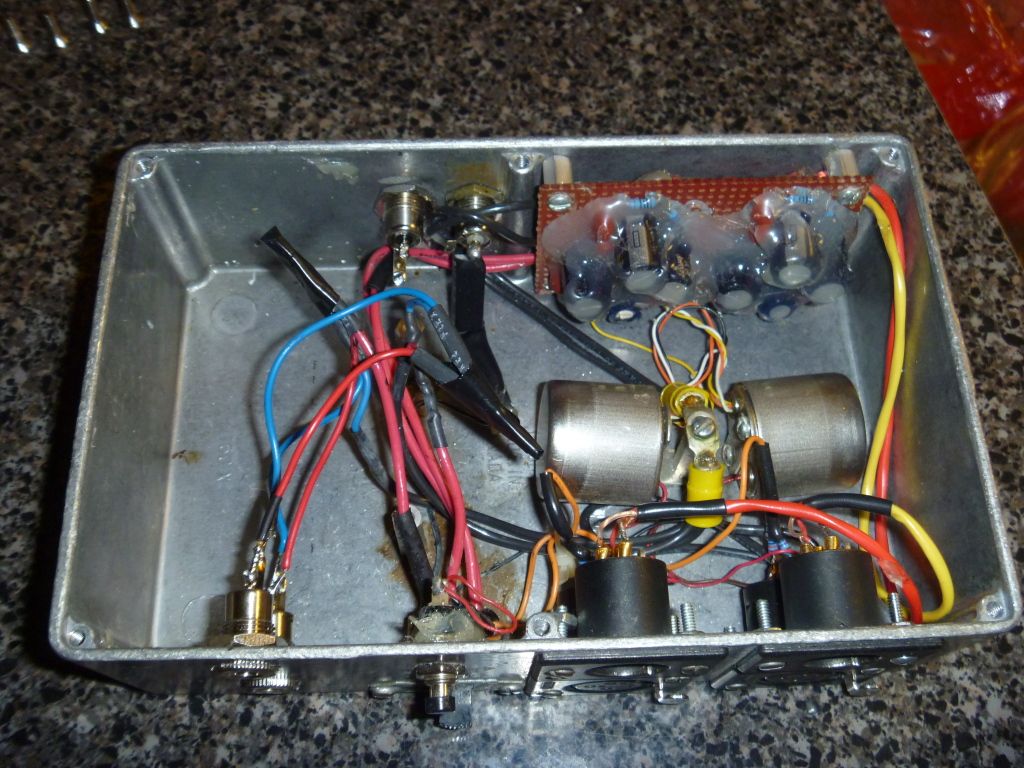
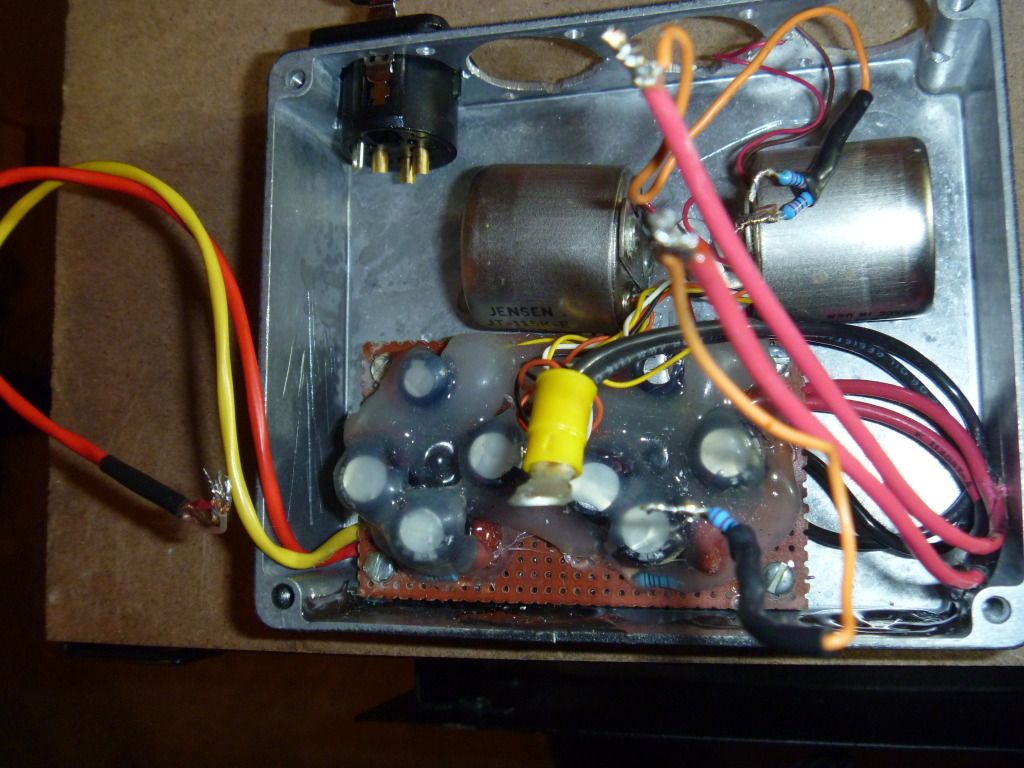
So, first thing to do was open it up and take some pictures of the guts before taking anything apart (in case I messed anything up with my diagramming, at least this way I have a photo record of the 'before'. Also, on the off chance this gets sold and the future owner wants to move everything back to the original case, these pictures will help guide that.
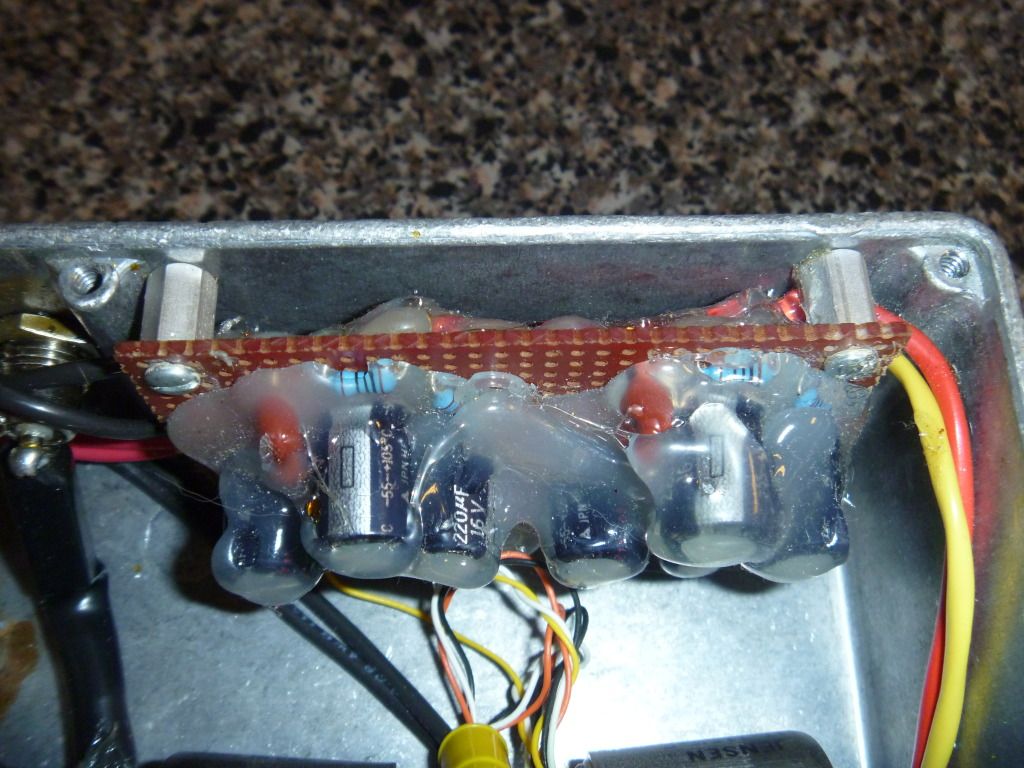
Notice all of the extra space available because of the removal of the batteries. Six batteries took up virtually all of the extra internal space shown, with little extra room at all.
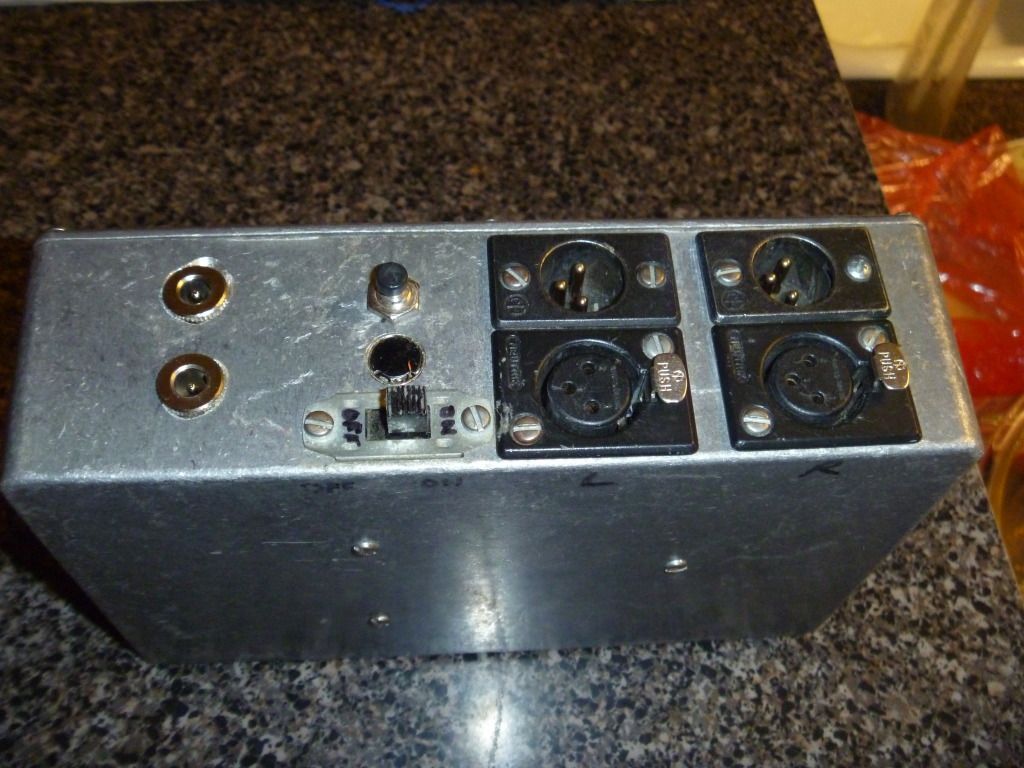
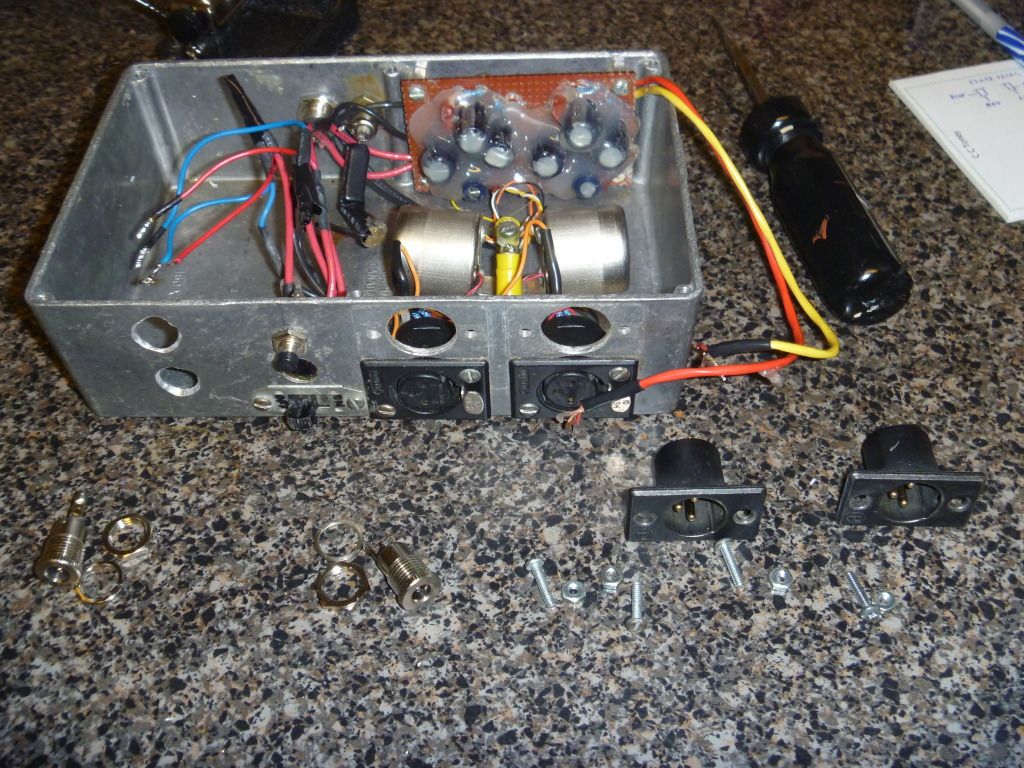
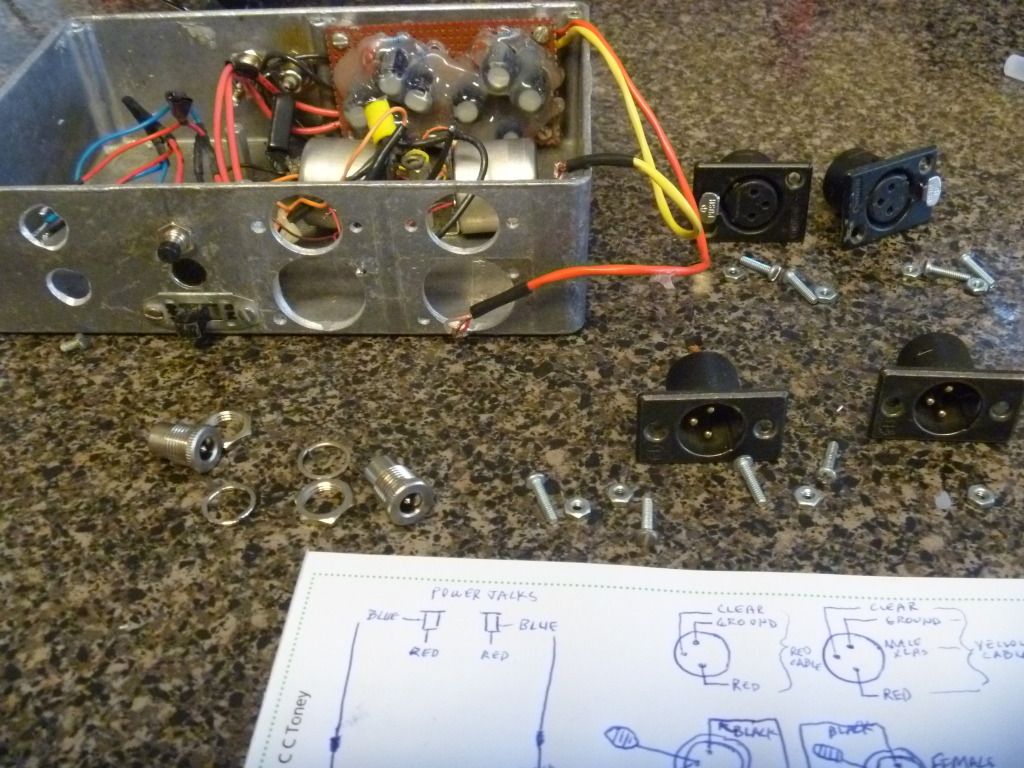
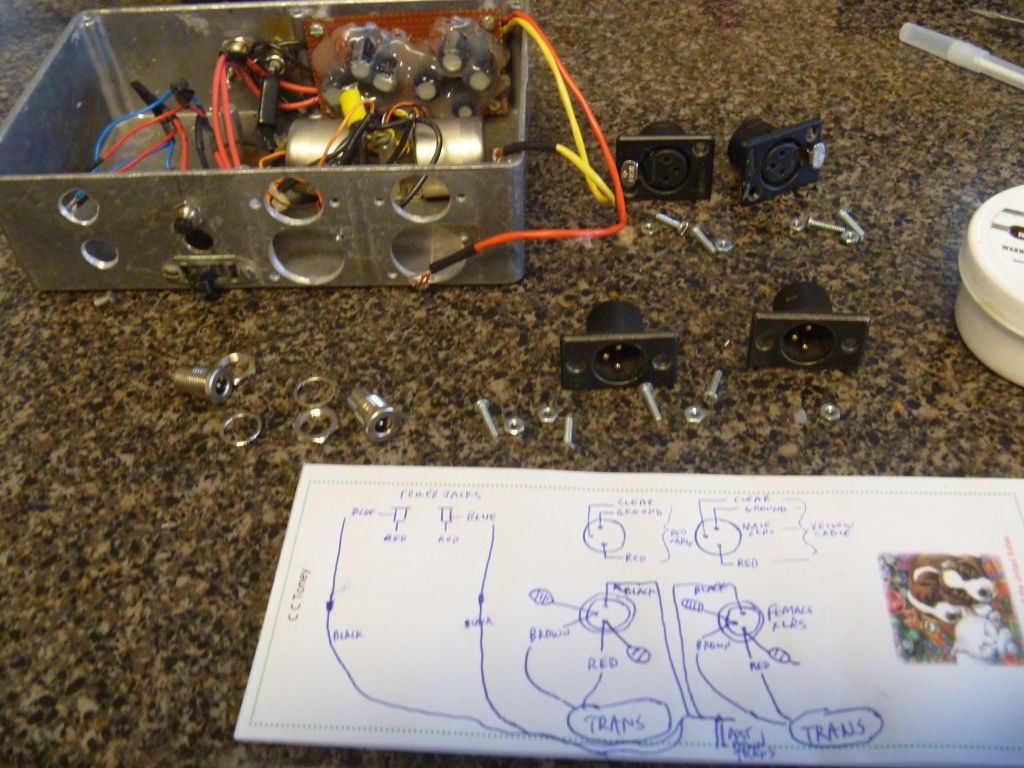
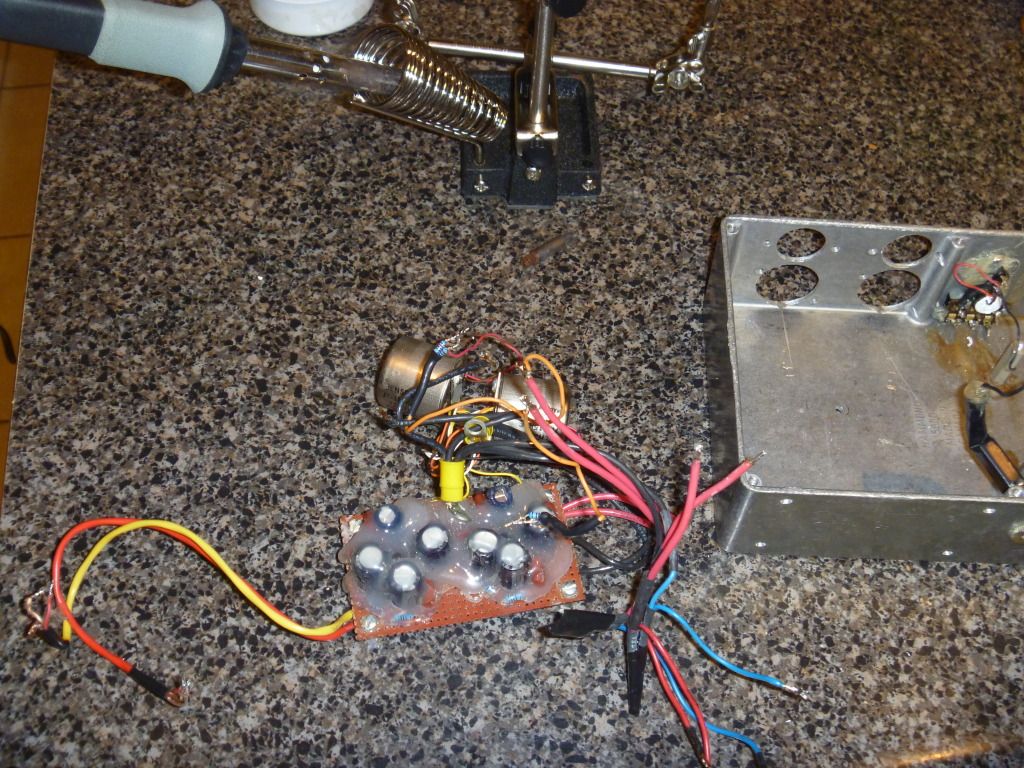
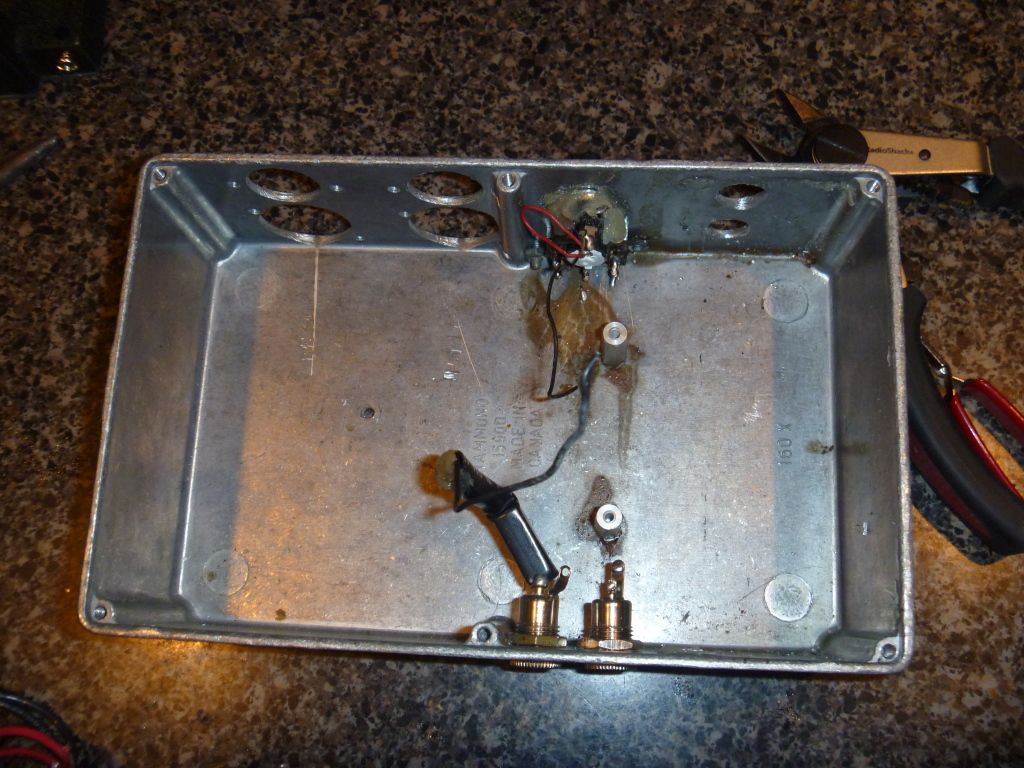
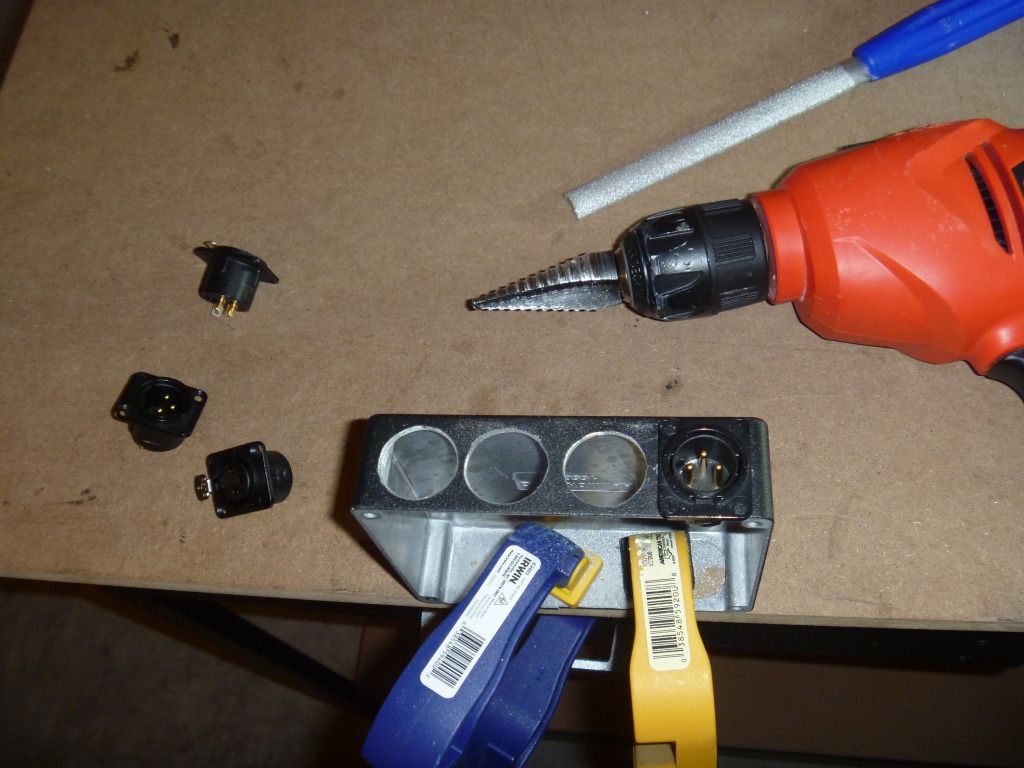
Next step was to remove everything from the inside and diagram the layout. The following shots show various stages of disassembly. The last shot of the old case empty shows that there were a couple of wires and components that weren't transferred into the new case, so I just left them. The components left behind were the recharge jack and connecting wires, the on/off switch, the battery meter and the momentary contact pushbutton to turn the meter on. Obviously, since there are no internal batteries anymore, there's no need for a recharge jack, and the on/off switch is no longer needed with externals (since turning the preamp on is simply a matter of plugging the external batteries in).
That spare jack was my first mistaken attempt at installing the external jacks...I realized after putting that first jack on that I should have installed it on the other side of the preamp to allow top access to both the XLRs and the power jack when the preamp was in the bottom of my bag. Rather than removing the useless jack and leaving a hole in the side of the preamp, I just left the jack...another reason to get rid of the old case!
The new case I bought is roughly 1/4 the total volume of the old case, so fitting everything inside was a little bit of a challenge. The new case is 5x4x1 and the old case is 7x5x2.
There's not much extra space in this case at all!
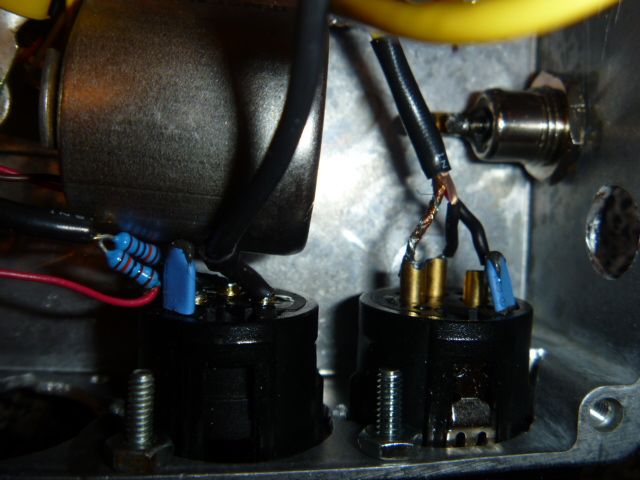
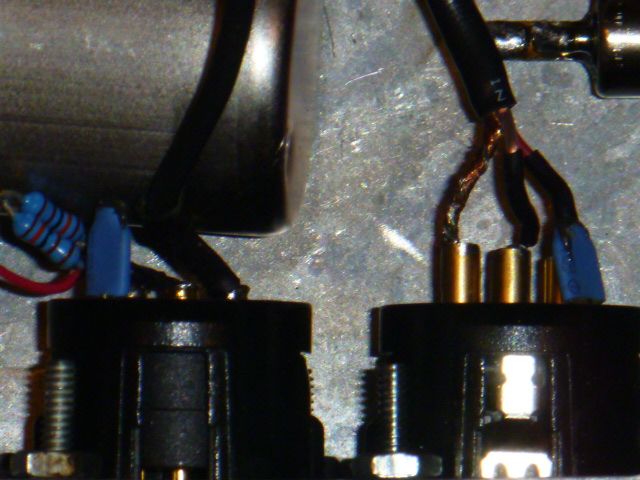
In fact, to make a little extra space between the back of the XLRs and the transformers, I actually filed down the length of the brass posts coming out the back of two of the XLRs. Don't worry, there's no potential shorting issues. In addition to shrink wrapping the wires on the XLRs posts, before closing the case up, I installed rubber grounding sheets between the transformer casing and the wires coming out the back of the XLRs.
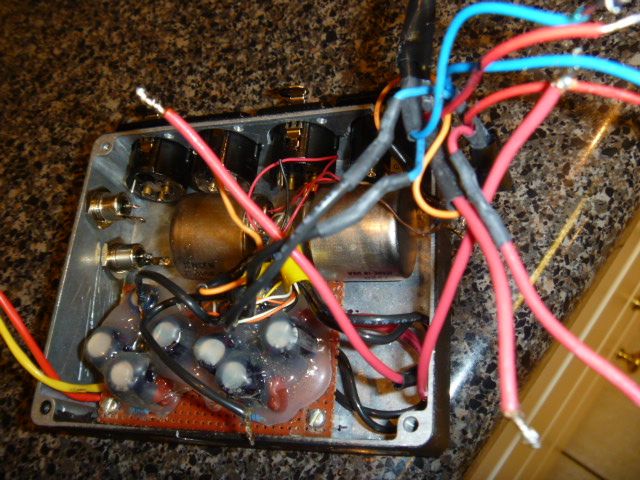
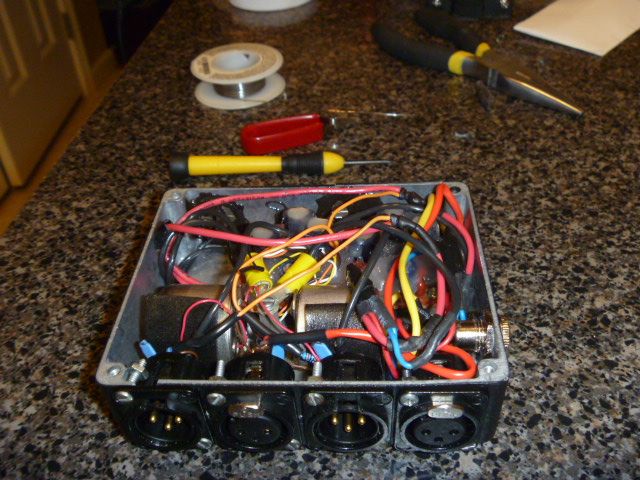
Here's the bottom of the case with all of the internal parts screwed in place and tightened down.

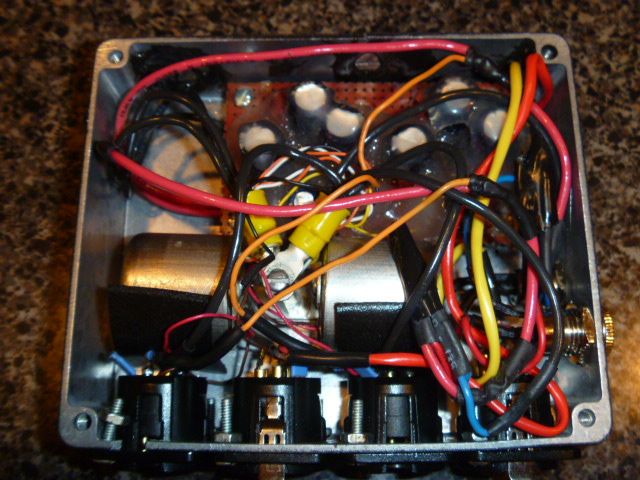
...and everything soldered up and installed in place in the new case before closing it up. Nice and neat!

Note that I could have cleaned up the inside of the new case quite a bit by removing slack from the wires, but I decided to leave all of the wires their original length so that if the guts ever were to be trasnferred back into the original case, all the original wires will still fit.
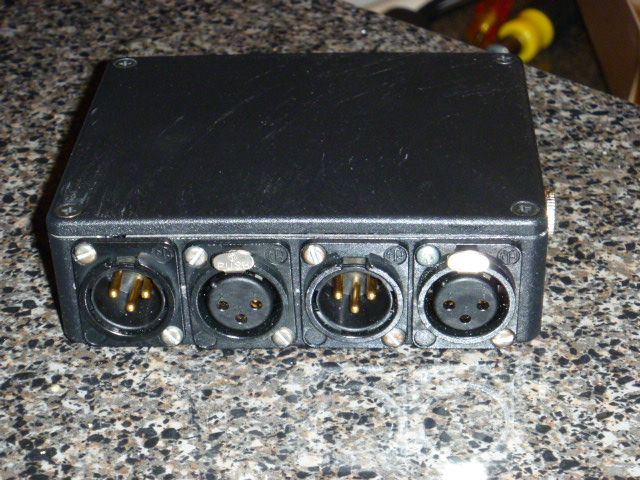
...and here's the finished product!

...and a before/after size comparison.
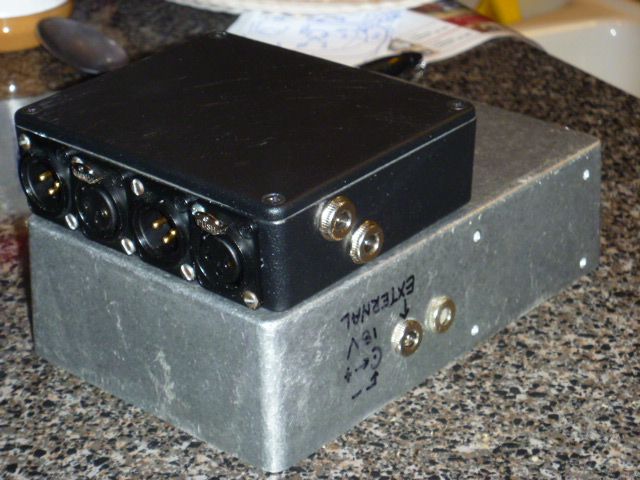
The bottom line is that the overall footprint probably isn't that big of a deal although it will help, but the thickness of the preamp will really help to fit this preamp into smaller bags. So far, I don't think I'll have any regrets in doing these mods.
For sure, this can no longer be referred to as my brick!

 Topic: Oade M118 Mod - External Power Jacks and Much Smaller Metal Case (w/Photo's) (Read 10658 times)